
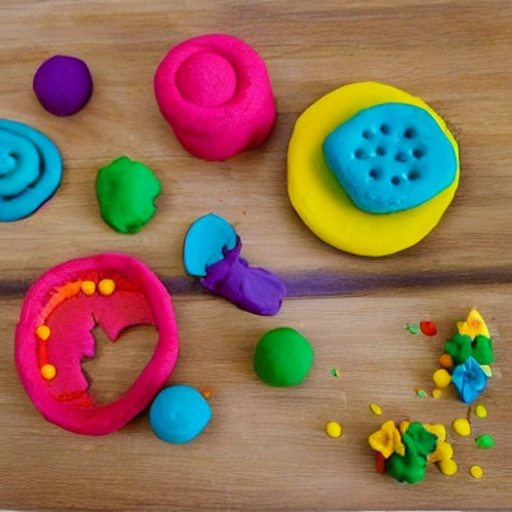
DIY: Play Dough Decorations

Keeping little hands busy during the festive season can be a delightful adventure, especially with fun activities like making Christmas ornaments from play dough. Today, I’m excited to share a simple yet creative way to make these festive decorations with your toddlers, turning a simple afternoon into a treasure trove of memories! We’re not just making ornaments; we’re also adapting this craft to create charming present toppers.
What You’ll Need for Magical Play Dough Ornaments:
To embark on this festive crafting journey, gather the following supplies:
- 1/2 cup of salt
- 1 cup of flour
- 1/2 cup of water
- A rolling pin
- A baking tray
- A toothpick
- Miniature cookie cutters (we’re opting for a star shape to capture the essence of Christmas)
- Acrylic paints for vibrant colors
- Glitter glue or glitter paint to add that sparkle
- Ribbon for hanging
Step-by-Step Guide to Creating Play Dough Christmas Ornaments:
1. Prepare Your Ingredients:
Start by preheating your oven to 120 degrees Celsius (250 degrees Fahrenheit). This ensures a slow and even baking process that will harden your ornaments without browning them.
2. Mix and Knead:
In a large bowl, mix together the salt, flour, and water until a dough forms. Transfer this dough onto a floured surface and knead it until elastic and smooth. If the dough feels too sticky, sprinkle a bit more flour. Be cautious not to add too much, as it can dry out the dough, making it prone to cracking.
3. Roll and Cut:
Using a rolling pin dusted with flour, roll out the dough to about 6mm thick. This is the perfect thickness to ensure durable ornaments. Press your chosen cookie cutters into the dough to cut out your festive shapes.
4. Create a Hanging Hole:
Before baking, use a toothpick to create a hole at the top of each ornament. Insert the toothpick and twist it gently in a circular motion to widen the hole to the desired size—this is where you’ll thread the ribbon later.
5. Bake to Perfection:
Place your shaped dough onto a baking tray and bake in the preheated oven for 2 hours. This slow baking process cures the dough, making it hard and ready for decoration.
6. Decorate Your Heart Out:
Once cooled, paint your ornaments in any colors you fancy. Decorate with glitter glue for a touch of sparkle or use vibrant paints to bring the designs to life. Let your creativity and the spirit of Christmas guide you!
7. Finishing Touches:
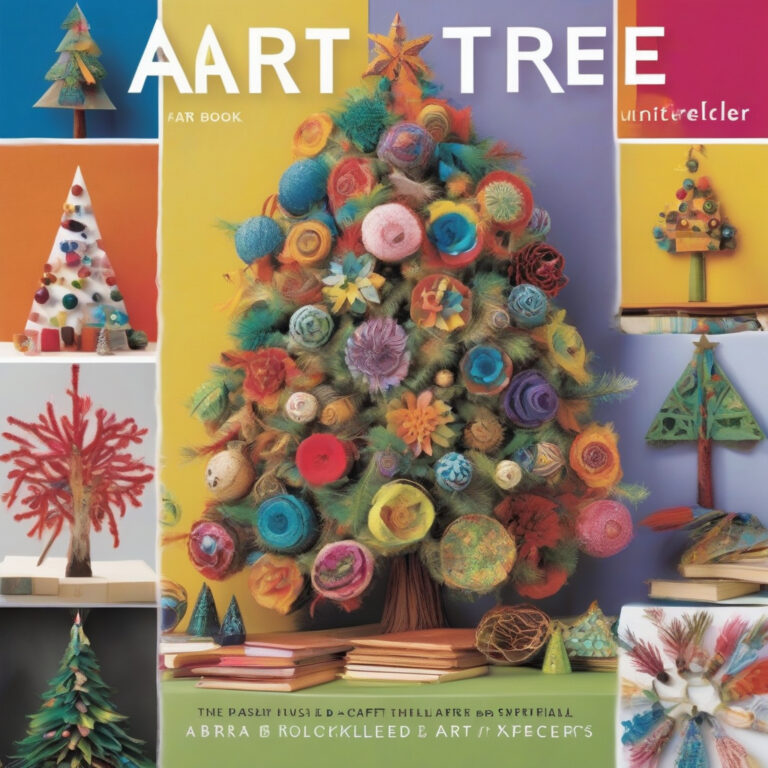
After the paint and glitter have dried, thread a ribbon through the hole and tie it in a knot at the back. Now, your ornaments are ready to be hung on the Christmas tree or tied onto gifts as unique, handmade toppers.
Share Your Creations
Don’t forget to share your creations with us! Post photos of your festive play dough ornaments and present toppers on social media, and inspire others to try this fun activity with their little ones.
Happy crafting! Whether hanging on your tree or adorning a gift, these homemade ornaments are sure to add a personal and joyful touch to your holiday celebrations.


