DIY Tutorials for Beaded Doll Pencil Toppers: Adding a Personal Touch to Your School Supplies
Introduction
Beaded doll pencil toppers are a delightful and creative DIY project that transforms ordinary pencils into fun, personalized pieces of art. These charming toppers not only make school supplies more engaging for students but also serve as wonderful small gifts and decorations. Crafting these toppers is a fantastic way to unleash your creativity, allowing you to experiment with various colors, patterns, and embellishments. In this article, we’ll guide you through the process of creating your own beaded doll pencil toppers, providing step-by-step instructions, customization ideas, and tips for making the most out of this enjoyable DIY activity.
Materials and Supplies Needed
Creating beaded doll pencil toppers requires only a few materials, all of which are easily accessible and affordable. Here’s what you’ll need:
Materials:
- Pencils: Standard pencils with erasers.
- Beads: A variety of beads in different colors and sizes (pony beads, seed beads, and decorative beads).
- Wire: Thin crafting wire (24-26 gauge).
- Glue: Strong adhesive or hot glue gun.
- Small Styrofoam balls: For the doll’s head (approximately 1-2 cm in diameter).
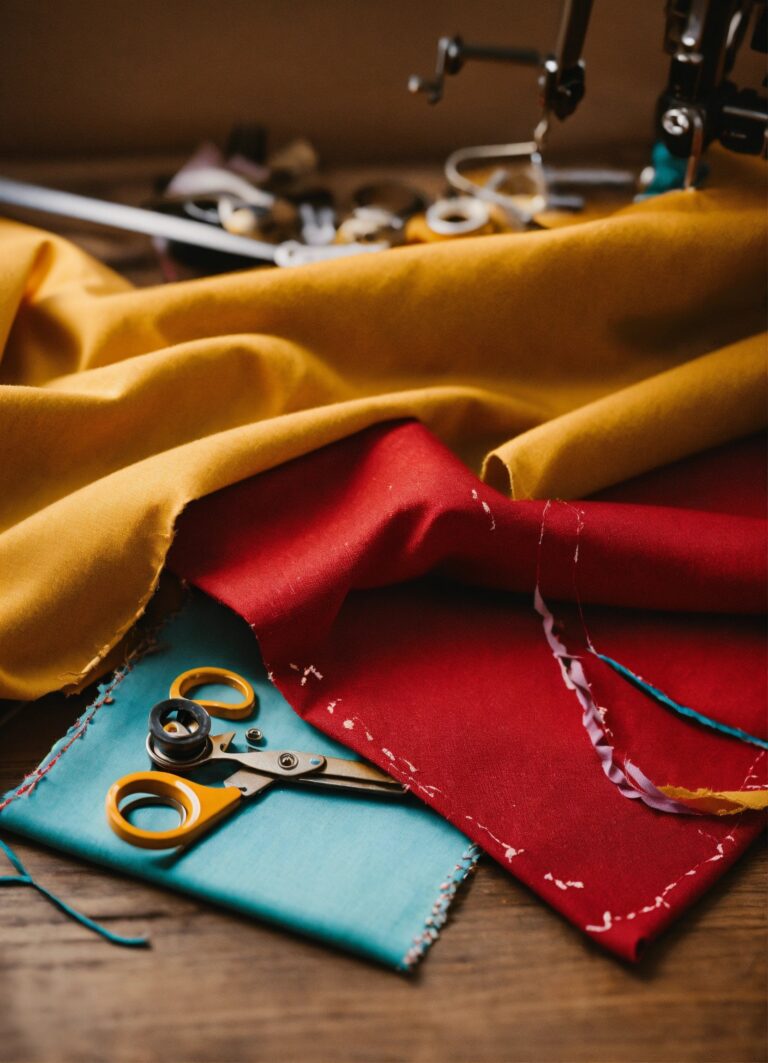
- Fabric scraps or felt: For the doll’s clothing.
- Markers or paint: For drawing faces.
- Needle and thread: For attaching fabric pieces.
Tools:
- Wire cutters
- Scissors
- Needle-nose pliers
- Crafting mat or surface
These materials are widely available at craft stores or online, making this project suitable for students of all ages.
Step-by-Step Instructions
Follow these detailed steps to create your own beaded doll pencil toppers. Each step is accompanied by visuals to make the process clear and easy to follow.
Step 1: Prepare the Pencil
- Choose a Pencil: Select a pencil with an eraser end, as this will help secure the topper.
- Clean the Pencil: Ensure the top of the pencil is clean and dry.
Step 2: Create the Doll’s Body
- Cut the Wire: Cut a piece of thin crafting wire about 6 inches long.
- Form the Body: Thread the wire through a large bead to create the body. Bend the wire in half so the bead sits in the middle.
- Add Arm Beads: Slide two smaller beads onto each side of the wire to form the doll’s arms.
- Secure the Arms: Twist the wire ends together below the arm beads to secure them in place.
Step 3: Attach the Head
- Prepare the Styrofoam Ball: Take a small Styrofoam ball for the head.
- Insert the Wire: Poke the twisted wire ends into the Styrofoam ball and secure with glue.
Step 4: Create and Attach the Clothing
- Cut Fabric: Cut a small piece of fabric or felt to make the doll’s dress or shirt.
- Dress the Doll: Wrap the fabric around the bead body and secure it with glue or a few stitches using needle and thread.
Step 5: Add Hair and Face Details
- Add Hair: Use small pieces of yarn or thread to create hair. Glue them onto the Styrofoam ball.
- Draw the Face: Use markers or paint to draw a face on the Styrofoam ball. Add eyes, a nose, and a mouth.
Step 6: Secure the Doll to the Pencil
- Attach the Doll: Apply a generous amount of glue to the eraser end of the pencil.
- Place the Doll: Firmly press the base of the doll onto the glue and hold it in place until it sets.
Customization and Personalization Ideas
One of the best parts of creating beaded doll pencil toppers is the opportunity to personalize them. Here are some ideas to make your toppers unique:
Bead Colors and Patterns
- Mix and Match: Use beads of different colors and sizes to create interesting patterns and designs.
- Theme Colors: Customize the bead colors to match a specific theme, such as school colors or favorite sports teams.
Embellishments
- Charms: Add small charms or pendants to the doll’s dress or arms for extra flair.
- Glitter: Apply a bit of glitter to the fabric clothing or the doll’s hair for a sparkly effect.
Fabric and Clothing
- Different Outfits: Create various outfits using different fabric scraps. Experiment with patterns like polka dots, stripes, or floral prints.
- Seasonal Designs: Make seasonal-themed dolls, such as a winter doll with a tiny scarf or a summer doll with a mini sun hat.
Hairstyles
- Yarn Hair: Use different colors and lengths of yarn to create unique hairstyles.
- Braids and Ponytails: Braid the yarn or tie it into ponytails for added variety.
Encourage readers to let their imagination run wild, making each beaded doll pencil topper a unique work of art.
Conclusion
Creating beaded doll pencil toppers is not only a fun and engaging activity but also a way to personalize school supplies and make them more exciting for students. These charming toppers can brighten up a student’s day, serve as unique gifts, or even be used as classroom decorations. By following the step-by-step instructions provided in this article, anyone can make their own beaded doll pencil toppers and enjoy the process of bringing their creative ideas to life.
Whether you’re a student looking to add a personal touch to your school supplies or a parent searching for a fun crafting project, beaded doll pencil toppers are the perfect choice. They are easy to make, require minimal materials, and offer endless possibilities for customization. So, gather your supplies and start crafting today!
For more creative DIY projects and tutorials, visit our blog and join our crafting community. Share your beaded doll pencil toppers with us on social media using the hashtags #DIYPencilToppers, #BeadedDolls, #CreativeSchoolSupplies, #DIYCrafts, and #StudentLife. Let’s inspire each other and celebrate the joy of crafting together!
With these detailed instructions and customization ideas, you can create unique and personalized beaded doll pencil toppers that will make your school supplies stand out and bring a touch of creativity to your everyday life. Happy crafting!