DIY Mason Jar Fairy Lights: Create a Magical Glow for Your Space
If you’re looking for an easy yet stunning way to add a warm, enchanting touch to your home, DIY mason jar fairy lights are the perfect solution. These glowing jars bring a magical ambiance to bedrooms, patios, special events, or even as nightlights. The best part? They’re inexpensive, simple to make, and completely customizable to match your décor style.
In this guide, we’ll walk you through the step-by-step process of creating fairy light mason jars, discuss the best materials to use, explore creative design ideas, and provide tips to make your fairy light jars last longer.
Why Choose DIY Mason Jar Fairy Lights?
Mason jar crafts have become incredibly popular due to their versatility and charm. Here’s why you should try this project:
✨ 1. Aesthetic Appeal
Fairy light jars create a soft, ambient glow that enhances the mood of any space. They’re perfect for cozy home décor, weddings, parties, and even outdoor gardens.
🌍 2. Budget-Friendly & Sustainable
You can repurpose old mason jars, reducing waste while creating something beautiful. LED fairy lights are energy-efficient, making this craft both cost-effective and environmentally friendly.
🎨 3. Customizable Designs
From glitter and acrylic paint to flowers, lace, and stickers, you can personalize your jars to match your aesthetic.
🔧 4. Easy to Make
No special skills are needed! Whether you’re a beginner crafter or an experienced DIYer, this project is simple, fun, and mess-free.
Materials Needed
Before we start, gather the following supplies:
✔ Mason Jar – Clear or frosted, depending on the effect you want.
✔ LED Fairy Lights – Battery-operated lights work best for portability.
✔ Glitter or Acrylic Paint – For adding a magical shimmer inside the jar.
✔ Decorative Elements – Ribbons, artificial flowers, twine, lace, or stickers for embellishment.
✔ Mod Podge or Glue – To help the glitter or paint stick inside the jar.
✔ Paintbrush or Sponge – To apply glue or paint evenly.
Step-by-Step Guide to Creating Mason Jar Fairy Lights
Step 1: Decorate the Inside of the Jar

- Glitter Effect:
- Apply a thin layer of Mod Podge or clear-drying glue inside the jar using a paintbrush.
- Sprinkle fine glitter into the jar and rotate it so the glitter sticks to the glue.
- Let it dry for at least 30 minutes before adding the lights.
- Painted Effect:
- Use acrylic paint (metallic or frosted) to coat the inside or outside of the jar.
- Swirl the paint inside for an ombre effect or use a sponge for a textured look.
- Allow the paint to dry completely.
Step 2: Add LED Fairy Lights

- Carefully place the battery-operated LED fairy lights inside the jar.
- Ensure the switch is accessible for easy operation.
- For extra glow, choose warm white or multicolor fairy lights.
Step 3: Decorate the Jar Lid & Exterior
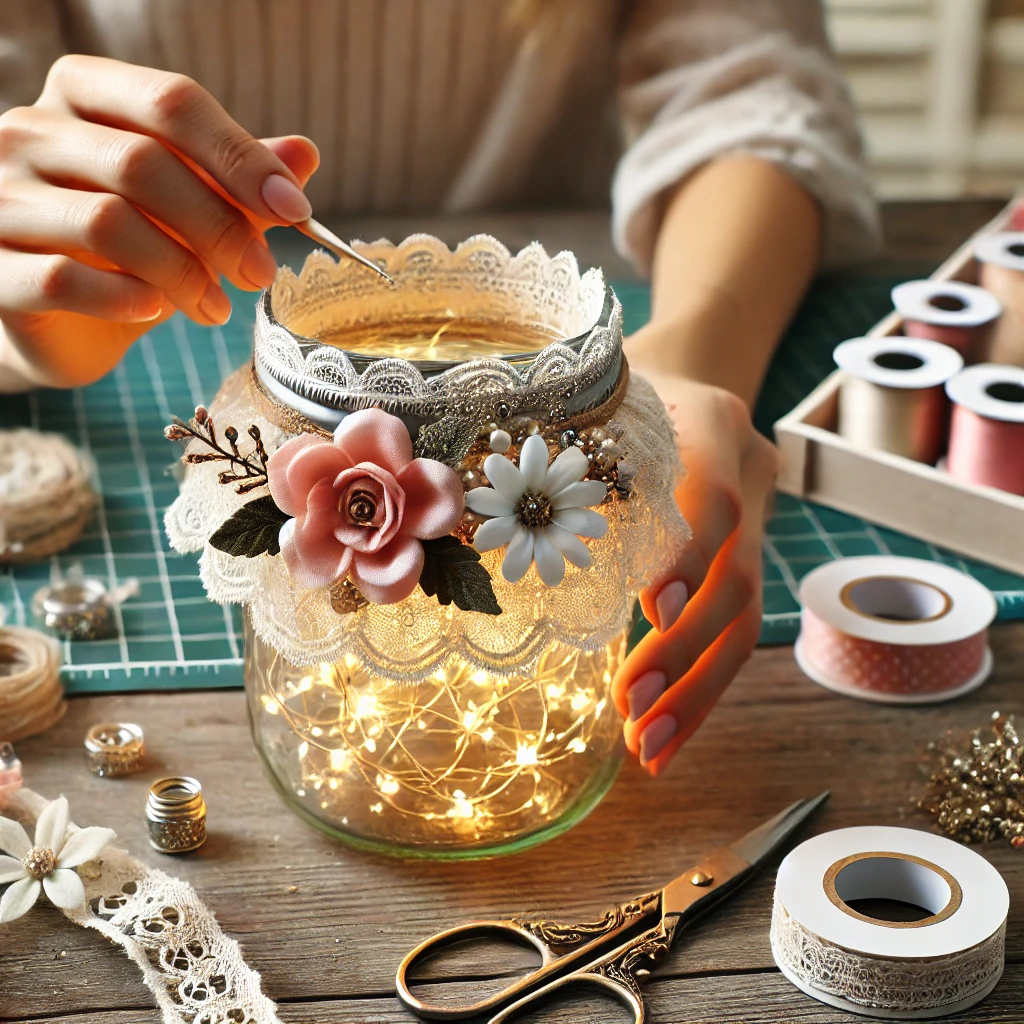
- Wrap ribbons, lace, or twine around the jar lid for a charming finish.
- Attach artificial flowers, small charms, or beads to enhance the aesthetic.
- Use stickers or decals on the outside for a unique touch.
Step 4: Turn on the Lights & Enjoy the Glow!
- Once everything is set, switch on the fairy lights and enjoy your DIY glowing mason jar.
- Place it on a nightstand, shelf, or hang it outdoors for a whimsical effect.
Creative Design Ideas for Mason Jar Fairy Lights
Want to make your fairy light jars stand out? Try these unique design ideas:
🌙 1. Galaxy-Inspired Mason Jar
- Use dark blue, purple, and black acrylic paint inside the jar.
- Sprinkle in silver and gold glitter to create a starry effect.
- Add tiny glow-in-the-dark stars for extra charm.
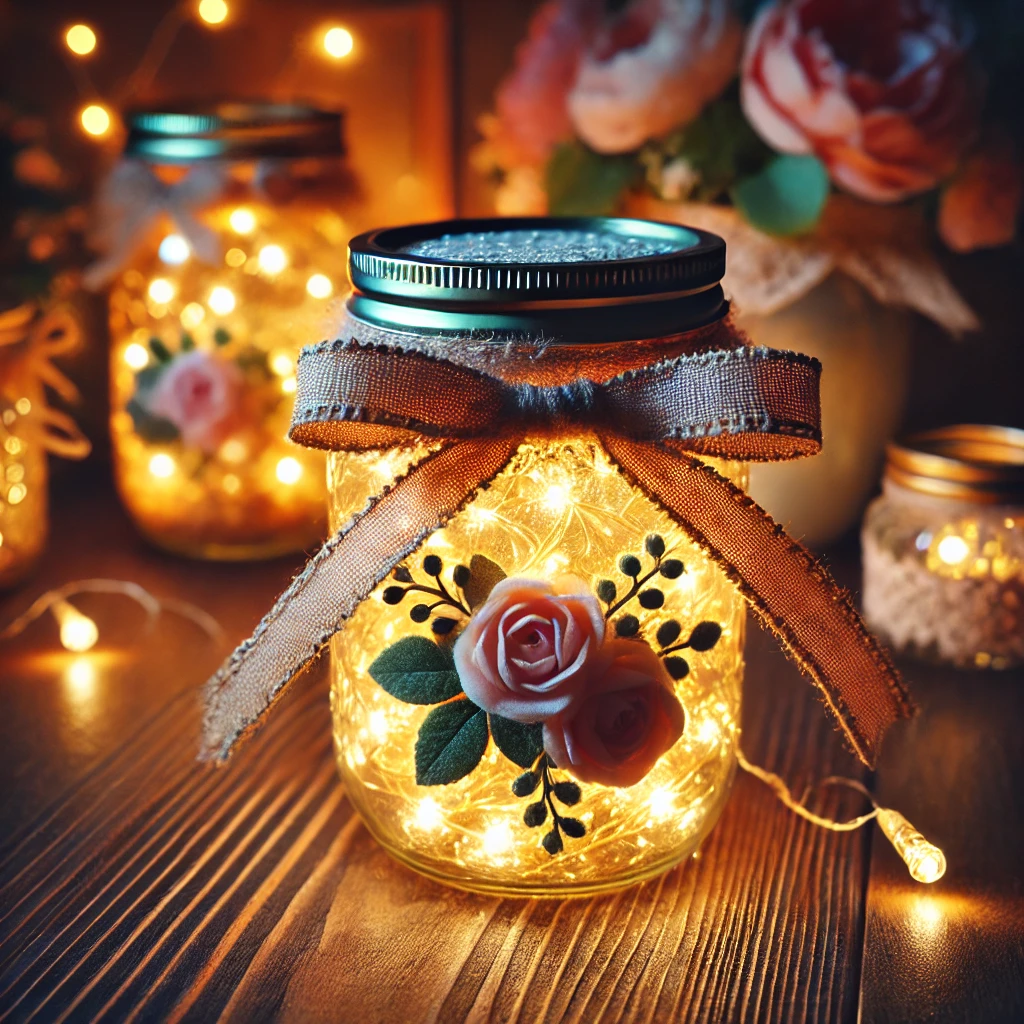
🌿 2. Nature-Themed Fairy Lantern
- Glue dried leaves or pressed flowers to the jar’s exterior.
- Use warm-toned fairy lights to mimic fireflies.
- Wrap the lid with twine for a rustic look.
❄ 3. Winter Wonderland Jar
- Use white paint and Epsom salt to create a frosted effect.
- Add mini snowflakes or pinecones inside the jar.
- Use cool-toned LED lights for an icy glow.
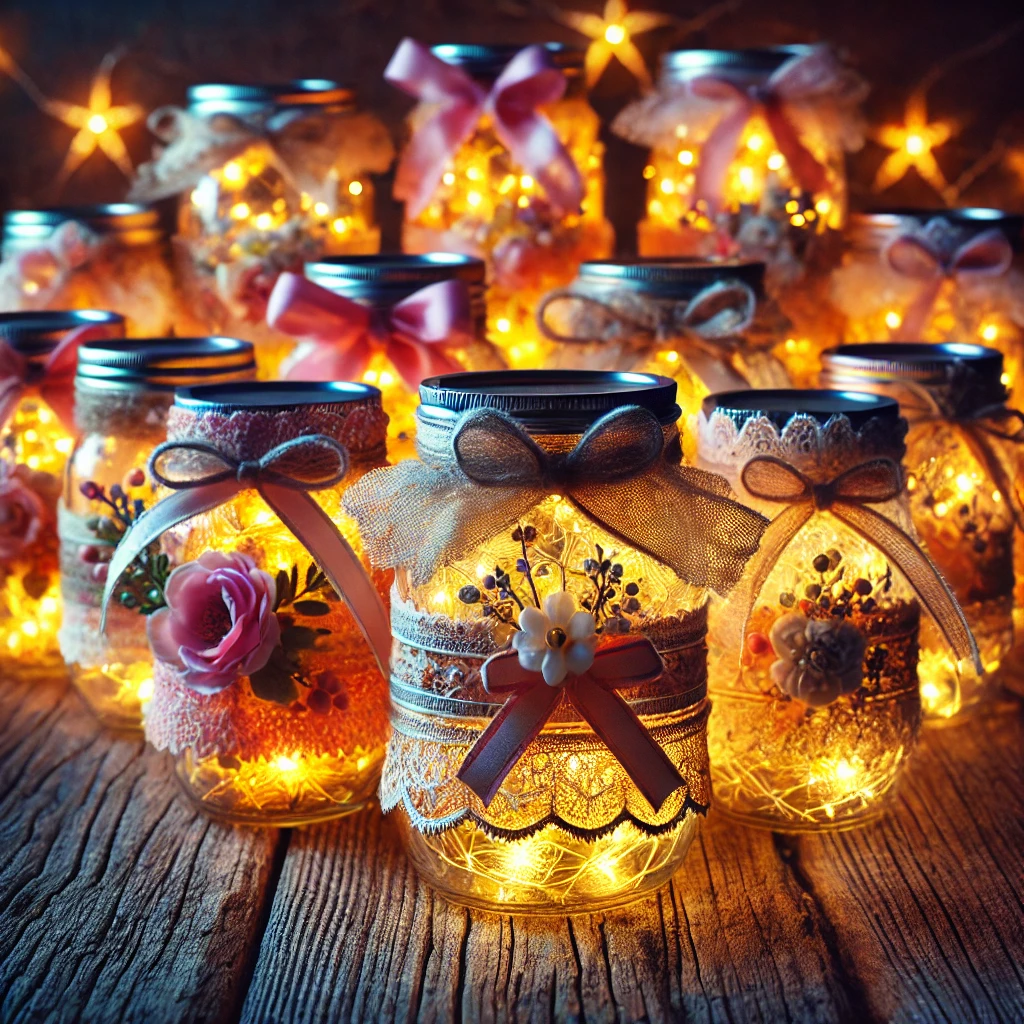
💖 4. Wedding or Romantic Centerpiece
- Decorate the jar with lace and pearls.
- Use soft pink or warm white lights.
- Place a small artificial rose inside for elegance.
Best Places to Use Mason Jar Fairy Lights
These DIY fairy light jars are not just decorative but also functional! Here are some great ways to use them:
✔ Bedroom Nightlights – Create a cozy and dreamy bedside glow.
✔ Wedding or Party Decorations – Perfect for centerpieces and venue lighting.
✔ Outdoor Gardens or Patios – Hang them from trees or place them on tables.
✔ Holiday Décor – Customize them for Halloween, Christmas, or New Year’s.
✔ Gift Ideas – Handmade fairy jars make charming presents.
Tips for Long-Lasting Fairy Light Jars
To ensure your mason jar fairy lights last for years, follow these tips:
🔹 Use high-quality LED fairy lights – They last longer and don’t overheat.
🔹 Seal the paint and glitter – A light coat of Mod Podge prevents flaking.
🔹 Store in a dry place – Keep them away from excessive moisture.
🔹 Use rechargeable batteries – Save money and reduce waste.
Common Mistakes & How to Avoid Them
❌ 1. Glitter Clumps or Falls Off
✅ Solution: Use a thin, even layer of Mod Podge and shake off excess glitter.
❌ 2. Paint Peeling Over Time
✅ Solution: Allow the paint to dry completely before handling and seal it with a clear spray.
❌ 3. Weak Fairy Lights Brightness
✅ Solution: Opt for high-lumen LEDs or use multiple light strands for a brighter effect.
Final Thoughts
DIY mason jar fairy lights are an easy, affordable, and creative way to add a magical touch to your space. Whether for home décor, weddings, or gifts, these glowing jars bring warmth and elegance to any setting.
Why not make a few today? Let us know in the comments how your fairy jars turned out, and share your designs on social media! 🌟