DIY Air Dry Clay Jewelry Dish: A Complete Step-by-Step Guide for Beginners
Creating a beautiful and functional air-dry clay jewelry dish is an enjoyable and rewarding craft project. Whether you’re a beginner or an experienced crafter, this easy DIY project allows you to experiment with different shapes, textures, and painting techniques. The best part? You don’t need a kiln or any special equipment—just a few basic materials and your creativity!
In this comprehensive guide, we’ll explore everything you need to know about making a jewelry dish out of air-dry clay. We’ll cover the materials, step-by-step instructions, design ideas, drying and sealing techniques, and practical uses for your dish. Let’s get started!
Why Choose Air-Dry Clay for Jewelry Dishes?
Before diving into the crafting process, let’s discuss why air-dry clay is a great choice for making jewelry dishes.
- Easy to Use – Unlike traditional clay, air-dry clay doesn’t require baking or firing in a kiln. It dries naturally when exposed to air.
- Versatile – It can be molded into various shapes and textures, making it perfect for customized jewelry dishes.
- Budget-Friendly – Air-dry clay is affordable and widely available in craft stores.
- Beginner-Friendly – No prior experience is needed. It’s soft, pliable, and easy to shape.
- Safe for Home Use – Unlike polymer clay, which requires an oven, air-dry clay is non-toxic and ideal for home crafting.
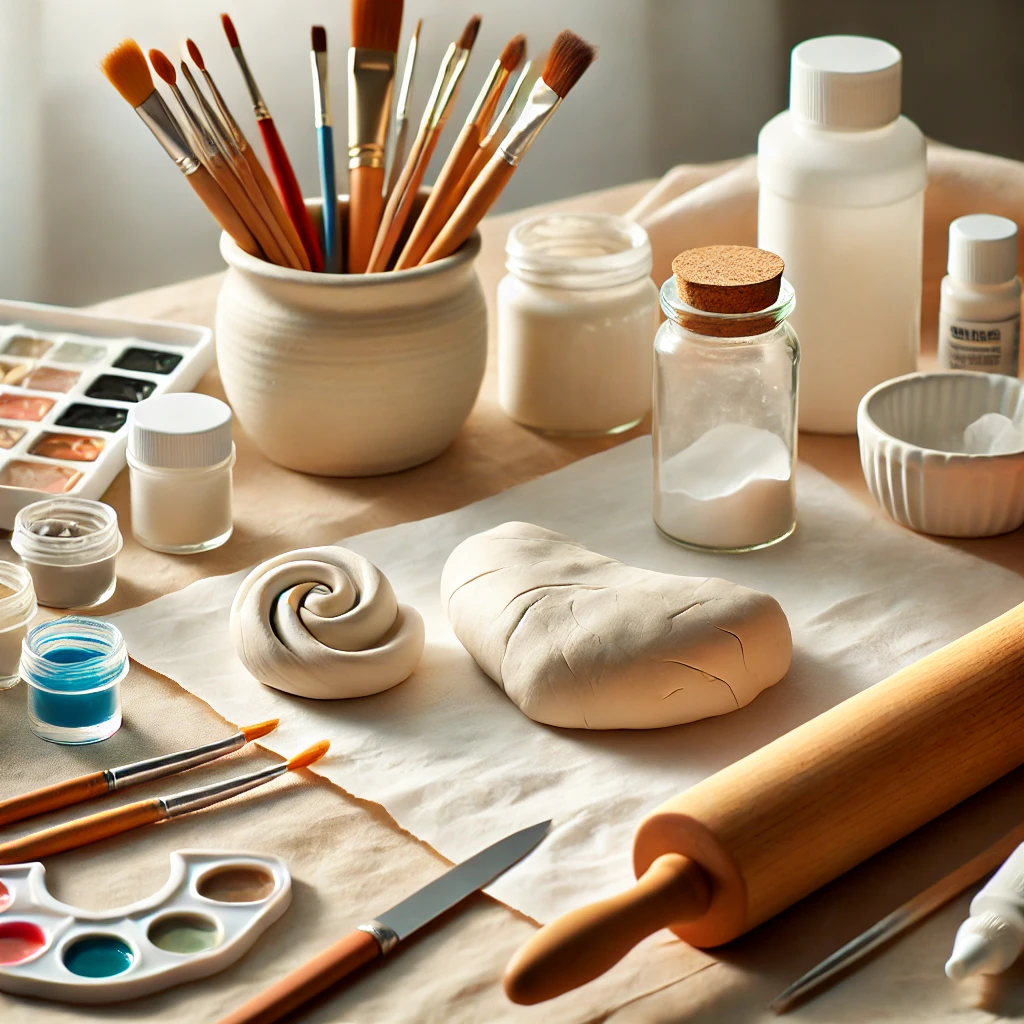
Materials Needed for a DIY Air Dry Clay Jewelry Dish
Before starting, gather these simple materials:
- Air-Dry Clay – White or colored air-dry clay (available at craft stores).
- Rolling Pin – Helps in flattening the clay evenly.
- Small Bowl or Mold – Used to shape the jewelry dish.
- Acrylic Paints – To add color and patterns to your dish.
- Paintbrushes – For painting and adding fine details.
- Sandpaper (Optional) – For smoothing rough edges after drying.
- Mod Podge or Clear Sealant – To protect the paint and make the dish water-resistant.
Step-by-Step Guide to Making an Air-Dry Clay Jewelry Dish
Follow these detailed instructions to create your unique jewelry dish:
Step 1: Prepare Your Workspace
Before you begin, cover your work surface with parchment paper or a craft mat to prevent clay from sticking. This will also make cleanup easier.
Step 2: Roll Out the Clay
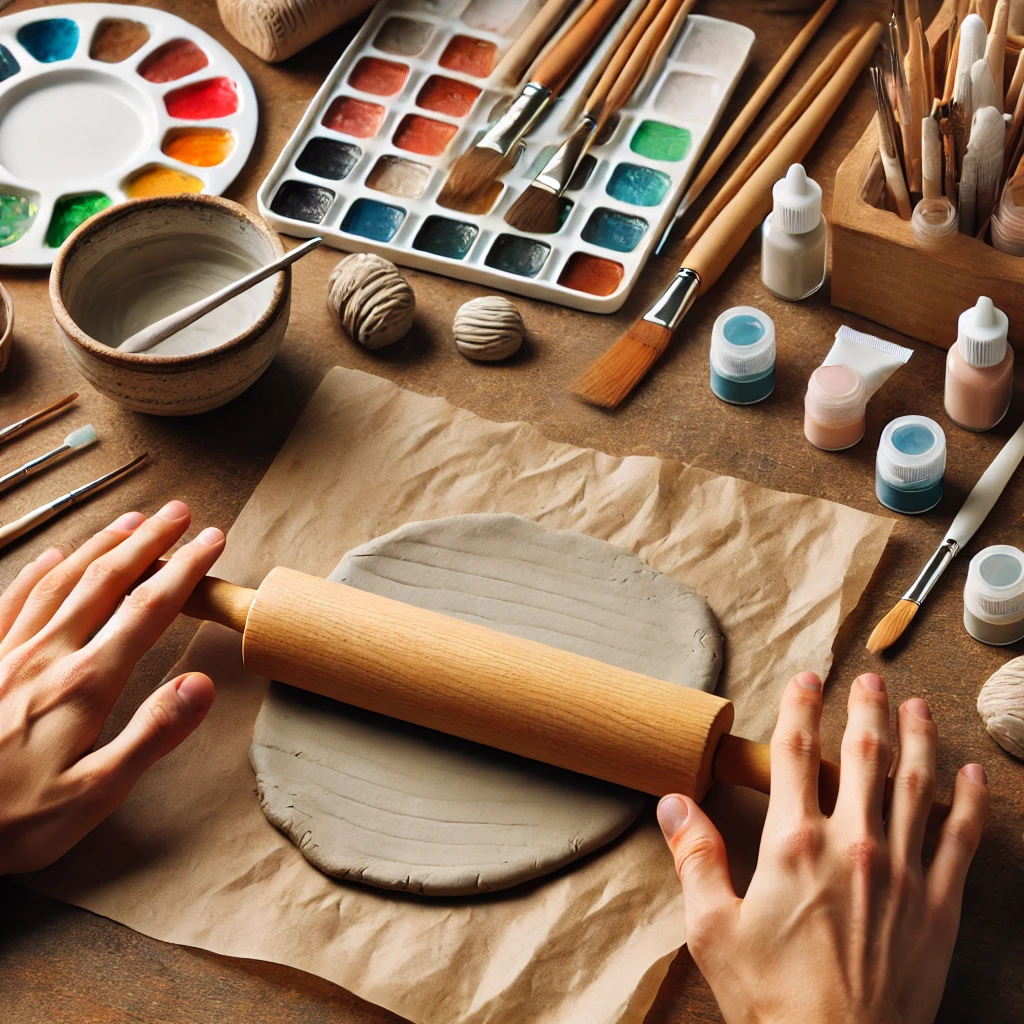
- Take a piece of air-dry clay and knead it for a few minutes to soften it.
- Using a rolling pin, roll out the clay until it’s about ¼ inch thick. Ensure the thickness is even throughout to prevent cracks during drying.
Step 3: Cut Out the Dish Shape

- Use a circular cookie cutter or a small bowl to cut a perfect circle from the flattened clay. If you prefer an organic, handmade look, you can shape it freehand.
Step 4: Mold the Dish

- Gently drape the clay circle over a small bowl or mold to create a curved dish shape.
- Press lightly to ensure the clay takes the shape of the bowl but avoid over-stretching.
Step 5: Let It Dry Completely

- Leave the clay dish in the mold for 24-48 hours until it is completely dry.
- Place it in a well-ventilated area and avoid direct sunlight, which can cause cracking.
Step 6: Smooth the Edges

- Once the dish is dry, use fine-grit sandpaper to smooth out any rough edges or imperfections. This step ensures a polished, professional look.
Step 7: Paint and Decorate

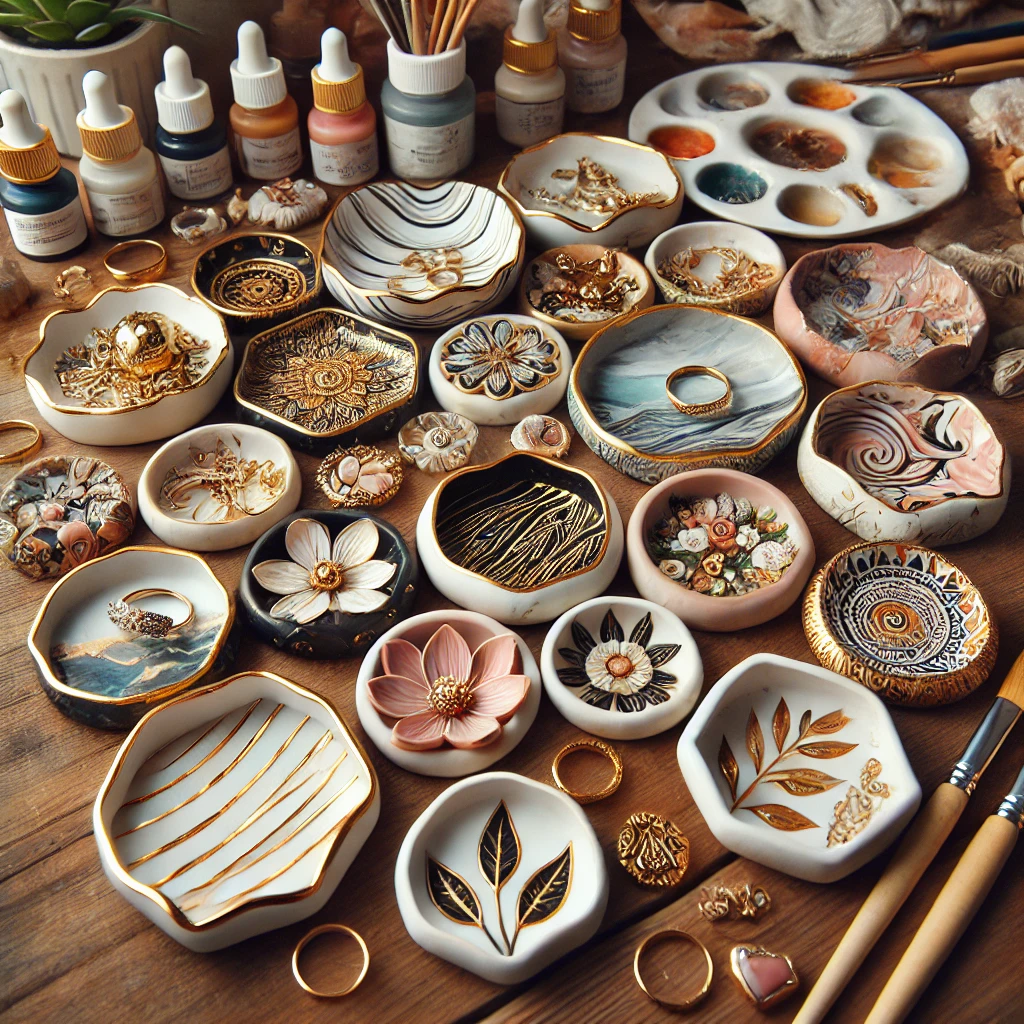
- Use acrylic paints to add beautiful designs, patterns, or marble effects to your jewelry dish.
- You can create floral designs, gold edges, geometric patterns, or abstract art.
- Allow the paint to dry completely before moving to the next step.
Step 8: Seal the Dish for Durability

- Apply a thin coat of Mod Podge or a clear sealant to protect the paint and make your dish water-resistant.
- Let it dry completely before using your jewelry dish.
Creative Design Ideas for Your Jewelry Dish
To make your DIY project more exciting, here are some unique design ideas:
- Marble Effect – Swirl shades of acrylic paint to create a marble effect before sealing.
- Gold Leaf Accents – Add gold leaf around the edges for an elegant look.
- Stamped or Engraved Designs – Use lace fabric or textured stamps to press patterns into the clay before drying.
- Ombre Color Fade – Blend two or more colors for a stunning ombre effect.
- Personalized Name or Initials – Carve your initials or a loved one’s name into the dish.

Practical Uses for Your Jewelry Dish
Aside from holding jewelry, your air-dry clay jewelry dish can be used in many ways:
- Ring Holder – Keep your rings in one place.
- Earring Tray – Perfect for organizing stud and hoop earrings.
- Coin Dish – Store loose change on your bedside table.
- Key Holder – Keep keys in one place to avoid misplacing them.
- Gift Idea – Handmade jewelry dishes make thoughtful and personalized gifts.
Common Mistakes and How to Avoid Them
Here are some common mistakes when working with air-dry clay and how to fix them:
1. Cracking During Drying
- Ensure the clay is not too thin (aim for ¼ inch thickness).
- Let it dry slowly in a cool, shaded area.
2. Uneven or Warped Shape
- Rotate the dish occasionally while drying to maintain its shape.
3. Paint Not Sticking Properly
- Sand the surface lightly before painting.
- Use high-quality acrylic paints for better adhesion.
4. Sealant Leaving a Cloudy Finish
- Apply thin, even coats and allow each layer to dry completely before adding another.
Final Thoughts
Making a DIY air-dry clay jewelry dish is a fun and creative way to craft something useful and stylish. Whether you’re making it for yourself or as a gift, this project allows you to explore different shapes, colors, and textures. Plus, the process is relaxing, budget-friendly, and perfect for all skill levels.
So, gather your materials and start crafting today! We’d love to see your creations—share your finished jewelry dishes in the comments below or tag us on social media!