FROM ANDREA | Scrap Busting Handmade Gift Tags

Crafting enthusiasts and fabric hoarders, rejoice! Today, we’re excited to introduce Andrea from Andrea Creates, who’s here to bless us with her crafting prowess. She’s got a knack for turning the littlest of leftovers into the grandest of gifts, and she’s here to show us how.
Andrea is the epitome of a crafting maestra – she’s the one with paint on her hands, yarn in her pockets, and scraps in her wake. She’s here to guide us through a whimsical journey of scrap-busting that will leave your craft room a little tidier and your heart a lot fuller.
So, grab those neglected fabric pieces and prepare to dive into a cozy, crafty tutorial that will have you beaming with pride as you adorn your gifts with a touch of handmade charm.
A Christmas Crafting Carol
The yuletide season is Andrea’s crafting playground, and her handmade gifts are the stuff of legend. She starts her creations when the echo of carols is still in the air – yes, sometimes as early as December 26th! While it may not be possible to handcraft a gift for every person on your list, a handmade tag can add a special touch that says, “You’re worth every stitch.”
This year, Andrea has rustled through her baskets of fabric scraps to conjure up a project that’s as enchanting as it is economical – bespoke Christmas tags.
The Nifty Tag Tutorial
Here’s what you’ll need to follow Andrea’s magic:
- An iron for smooth finishes
- Cardstock, perhaps with a touch of festive flair
- Wonder Under, that magical two-sided fusible web
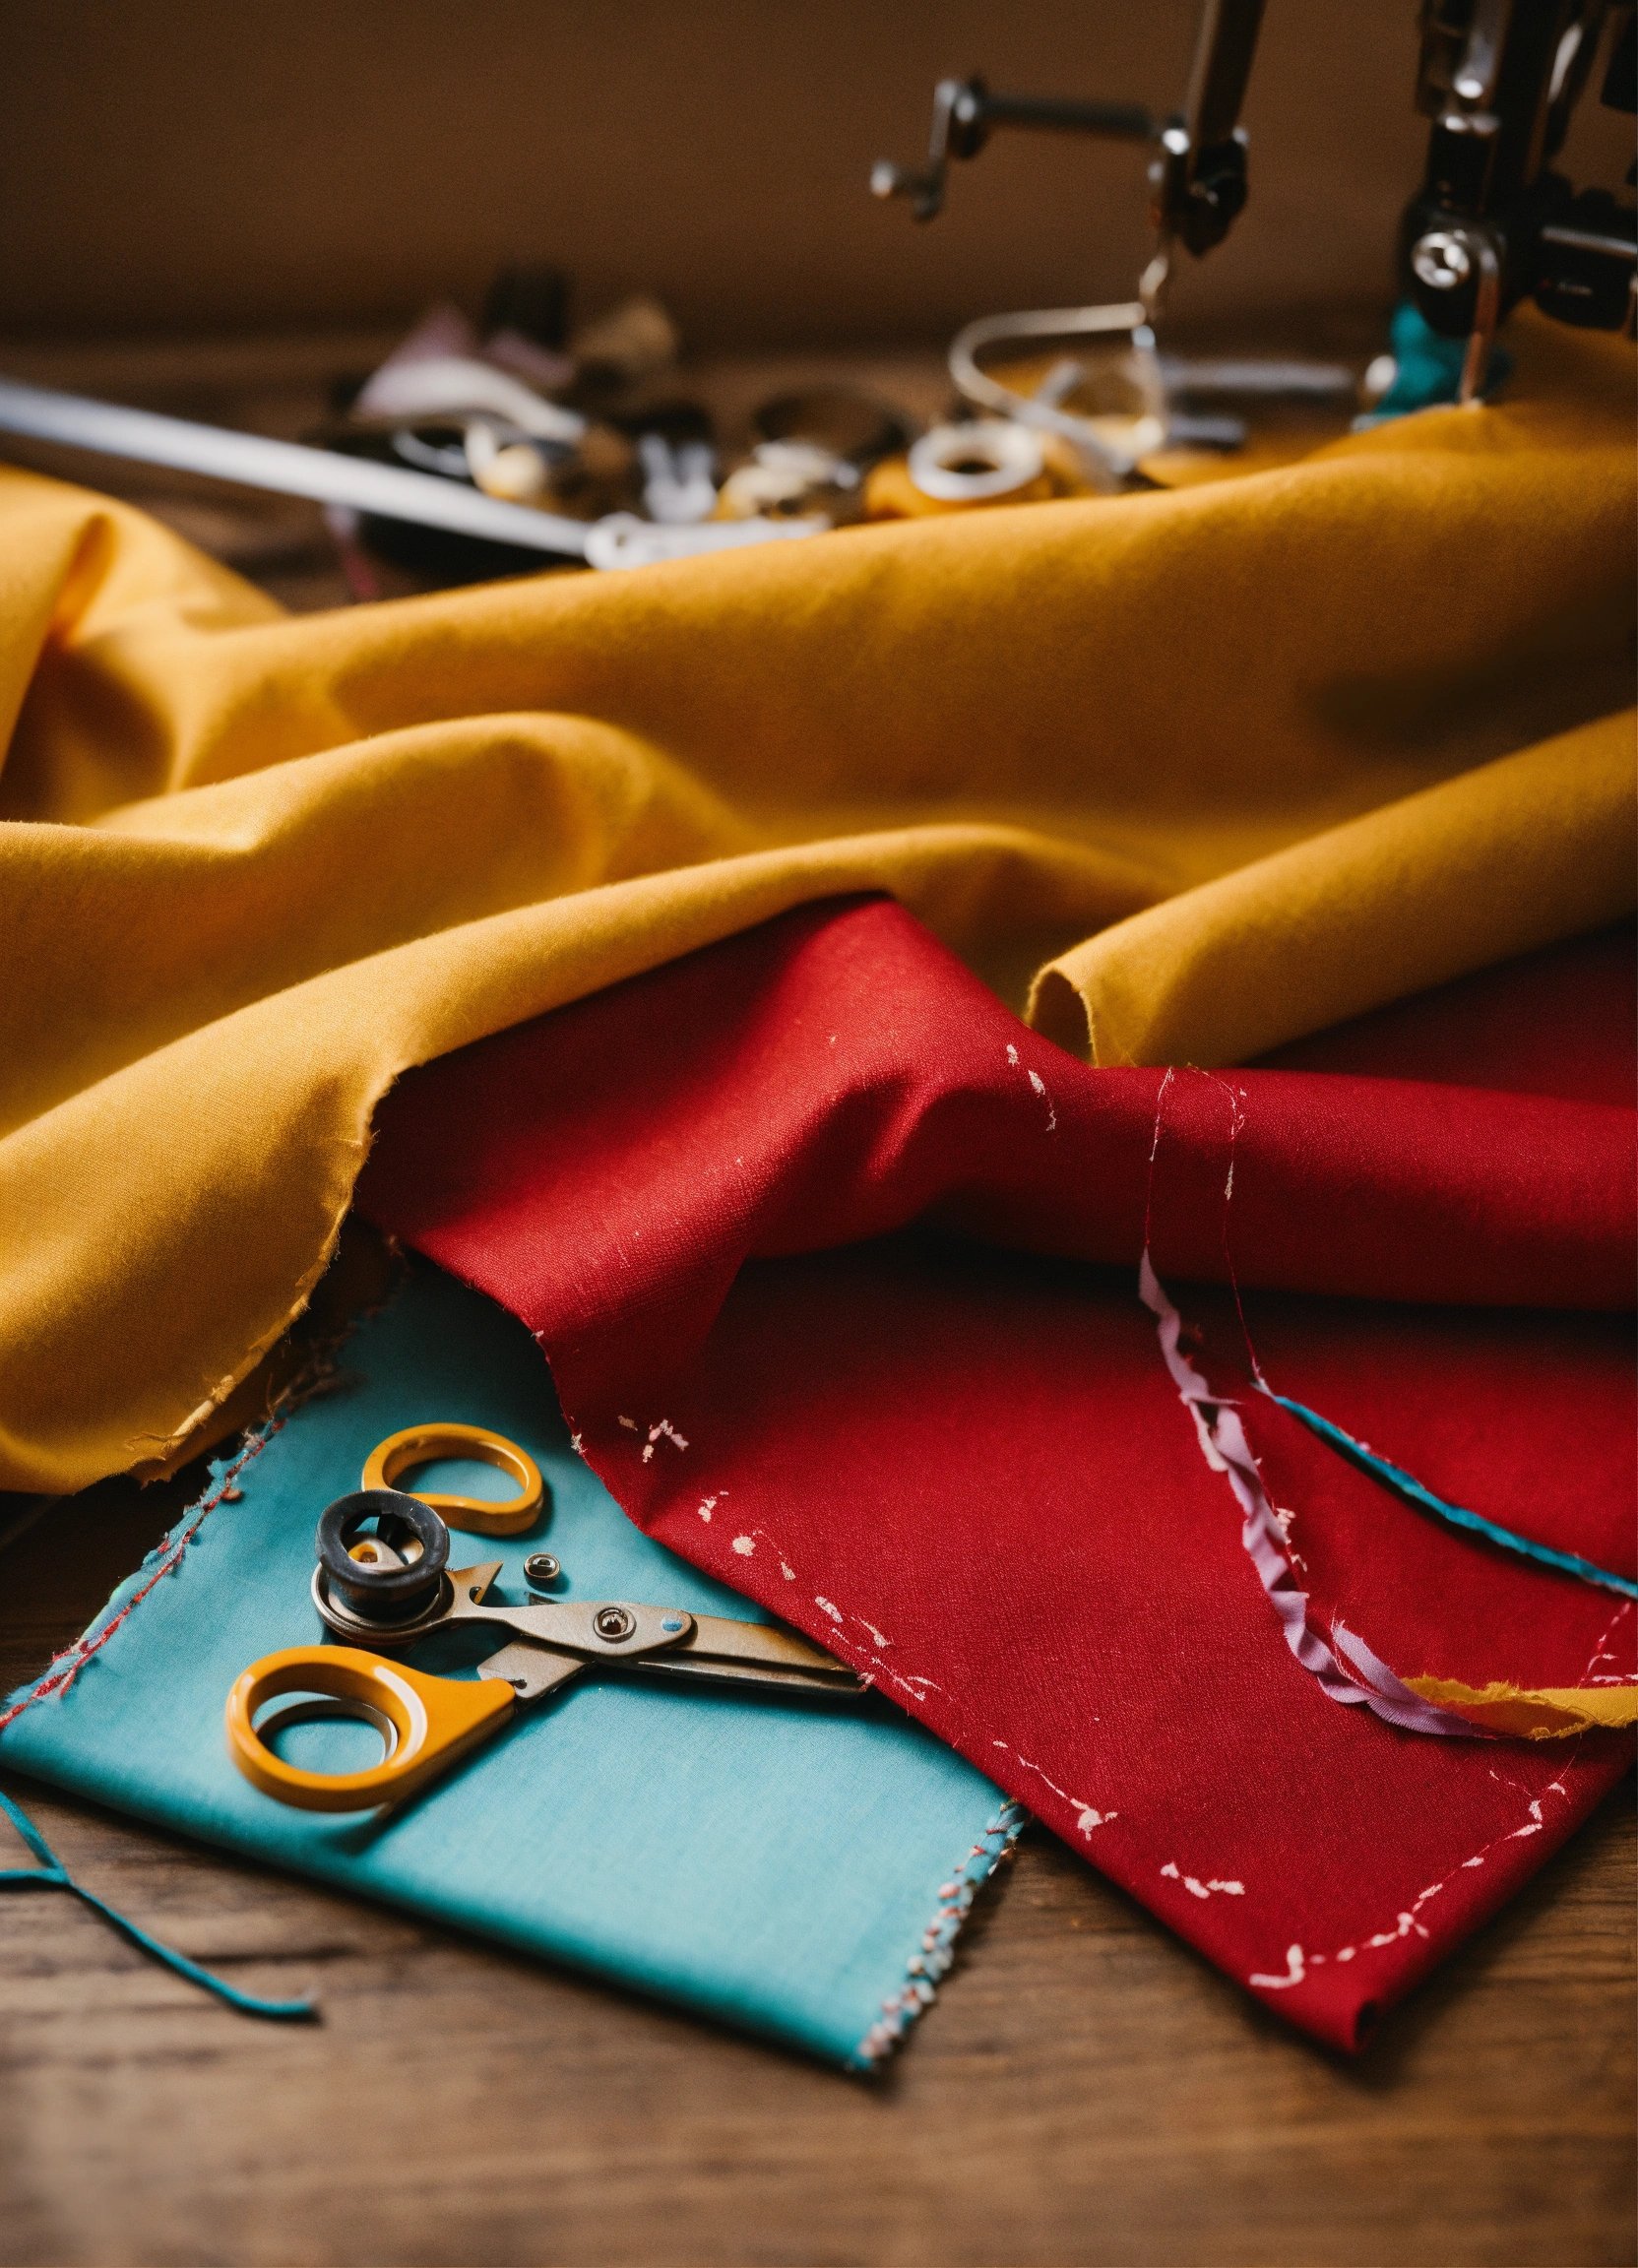
- Your beloved fabric scraps
- A hole punch for the perfect finish
- String or ribbon, the curling kind you’ve been saving
- And for those who like a dash of dazzle: buttons, glitter, sequins, or trim
Step 1: Fabric Foraging
Plunge into your scrap collection. Today, the reds have it, along with a vintage Christmas print that’s been waiting for its moment to shine.
Step 2: Fusion Fun
Size up your Wonder Under to your fabric pieces. Cut them out as a pair – perfection is not the aim, just a happy union of textures. Iron them together, preserving the backing for a moment longer.
Step 3: Shape Shifting
Fashion your fusible fabric into festive shapes. Andrea loves a good Christmas tree, but feel free to flirt with stockings or stars. If you’re like Andrea and prefer a guide, trace your shape on the paper backing. Otherwise, snip away to your heart’s content!
Step 4: Card Crafting
Take your pick of cardstock and trim it down to a pocket-friendly size. Fold it with the precision of an elf, making a crisp line. Then comes the moment of alchemy – peeling the backing off and bonding your fabric shape to the card. Embellish it with the treasures of your trimmings drawer.
Step 5: Tag, You’re It!
Punch a hole, thread through some twine or ribbon, and voilà! Attach it to your gift, step back, and bask in the glory of a scrap well-used and a gift well-adorned.
Kudos to Andrea for bringing this festive cheer into our crafty universe! It’s the little things, like a sprightly fabric tag, that transform a simple gift into a treasure trove of thoughtfulness.
Create heartwarming handmade tags with Andrea’s easy tutorial, perfect for Christmas gift-giving. Learn more at creativecollectiveblog.com.
And there you have it – a spirited little project to add a personal touch to your festive giving. Remember, in the world of crafts, even the smallest scrap has the potential to become part of something truly merry and bright.


